
Hani-Mandl.
In the last few weeks, the garden beekeeper has been tinkering with a honey filling robot, which is supposed to reliably dose the honey when filling it into jars. Inspiration and templates were initially published in the Facebook group "Imkerei und Technik. Eigenbau".
Introduction and Motivation
In the environment of hobby beekeeping, honey is usually filled into jars from a special filling bucket with a squeezing tap.
The empty jar is placed on a scale under the squeeze tap and this is opened by hand. The honey flows more or less slowly into the jar due to its viscosity.
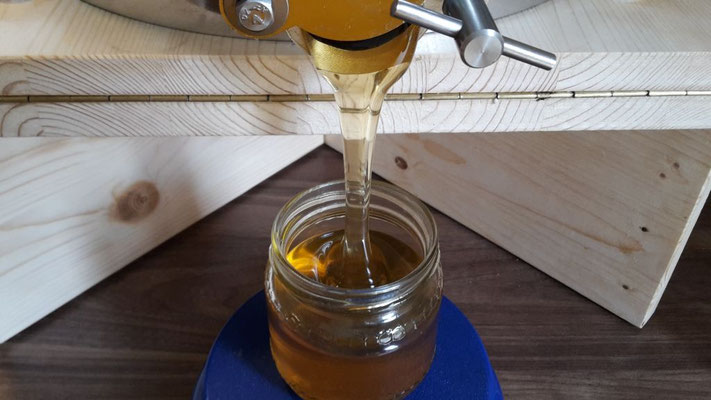
The art of bottling is to close the tap at the right moment. Then it takes a few seconds for the honey under the closed tap to drip completely into the jar. If you have closed the tap a little too early, you have to open it again and repeat this step several times if necessary. If it is closed too late, too much honey has been poured into the jar. This process is not only inaccurate, but also boring and tiring. That is why a simple filling robot is to provide support in the future.
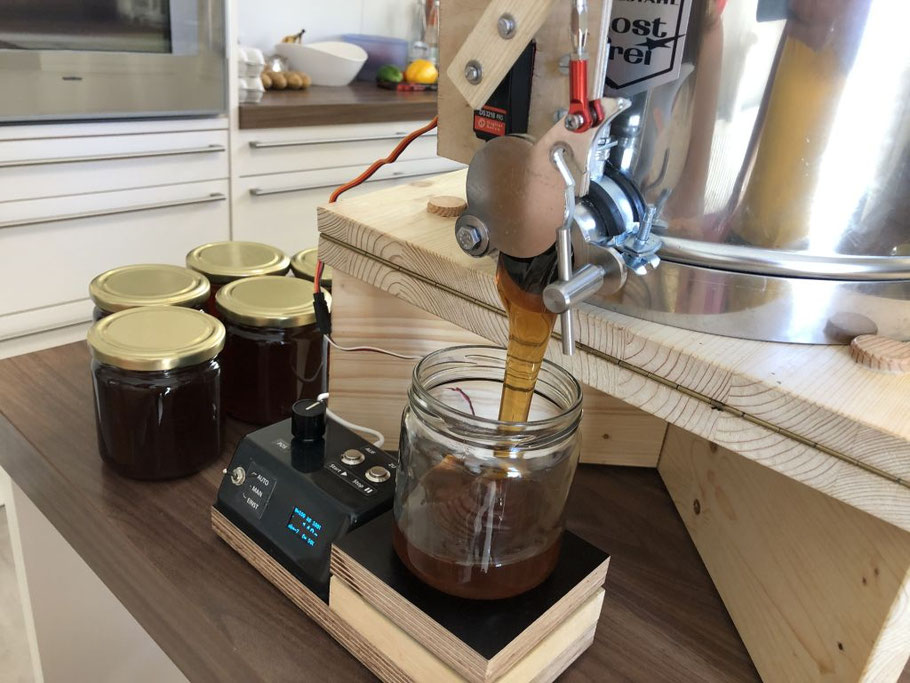
The little helper is called "Hani-Mandl" ("Hani": derived from the English "honey" and pronounced with an Austrian accent, "Mandl": Austrian for "manikin").
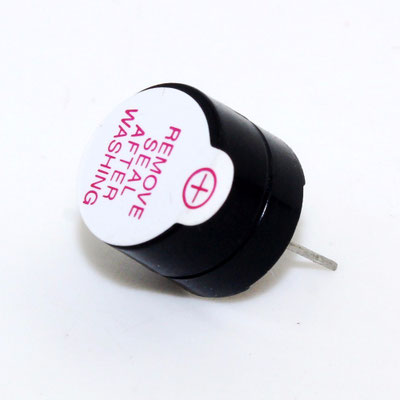
The heart of the device is a single-board computer. A scale and a servo are connected to it, which moves the squeeze valve. The computer has a simple display and a piezo beeper. It is operated by two buttons and a rotary knob. The operating modes are selected by a toggle switch.
The individual components were ordered directly in China in the proven manner. The disadvantage of the long delivery times is also an advantage: you have a lot of time to think through and plan the project in theory.
Components
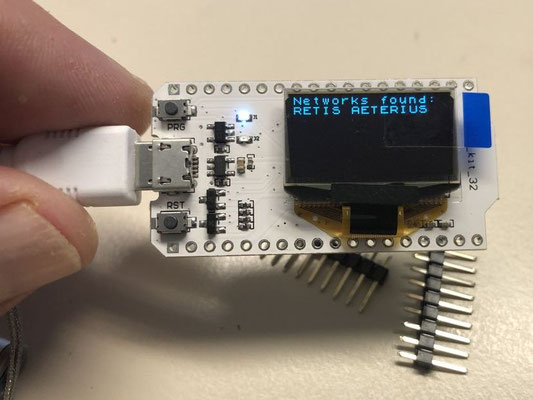
A "Heltec WiFi Kit 32" takes over the control. This is an ESP32 microcontroller with integrated 0.96 inch OLED display. A 5kg load cell with a HX711 AD converter is used as scale.

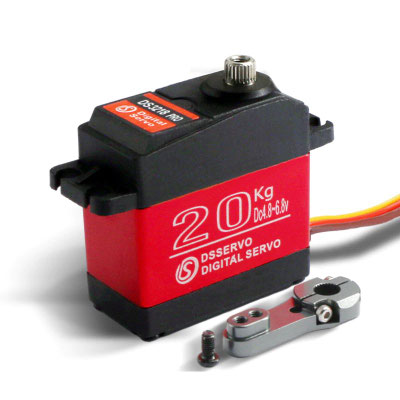
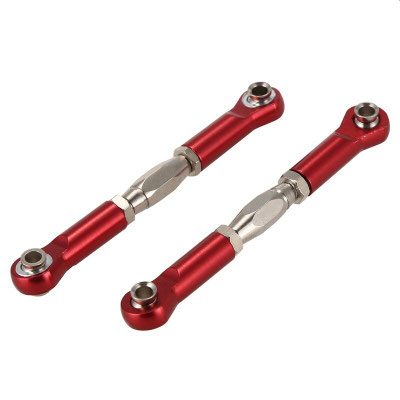
A DS3218 PRO servo with 20kg actuating force is used to move the squeeze valve, which is connected to it via a tie rod.
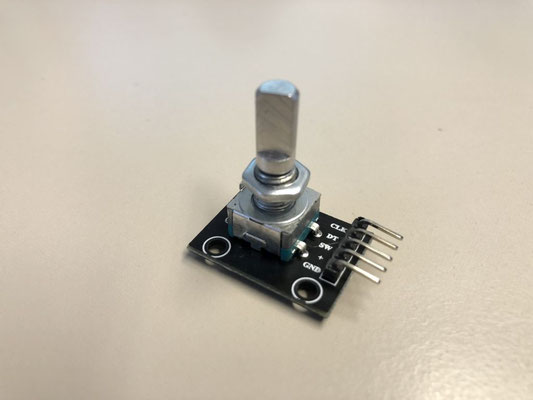
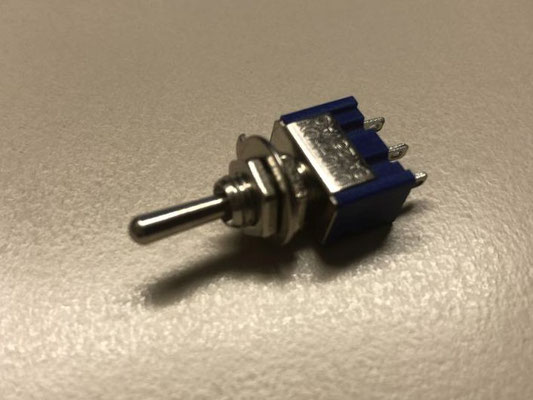
A rotary encoder, two metal buttons and a three-way toggle switch are used for input.

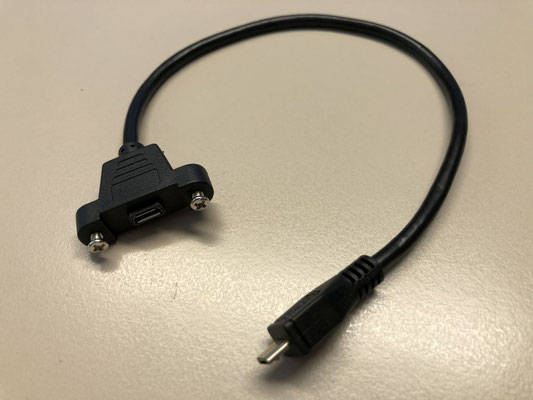
In addition, the case and various small parts such as a micro-USB adapter, a piezo buzzer, a slide switch and a rotary knob are made of solid aluminum, along with some M2 and M3 screws.
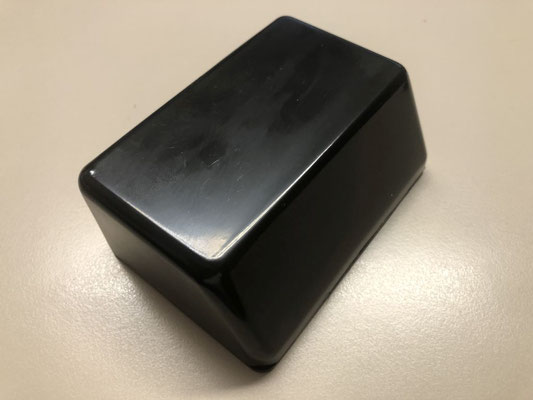
Many of the components were ordered in China, some from Amazon, the case was purchased from the local electronics retailer.
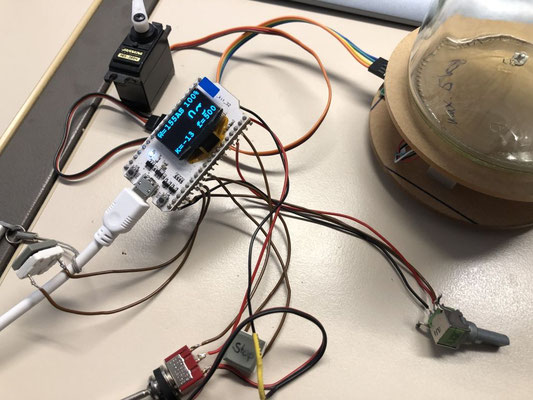
For the first start-up, the components were connected provisionally. As a replacement for parts not yet delivered, parts from the garden beekeeper had to be taken from a crust box that had been richly filled for decades.

A lipo-battery is also foreseen as a redundant power supply in case the primary supply should fail. There can be many reasons for this, from power failure to loose contacts in cables or plugs, to accidentally disconnected power supply. Murphy's Law says that it is not a question of if, but only when these cases occur. It can be assumed that something like this preferably happens with the squeeze valve open, and exactly when the doorbell has just rung...
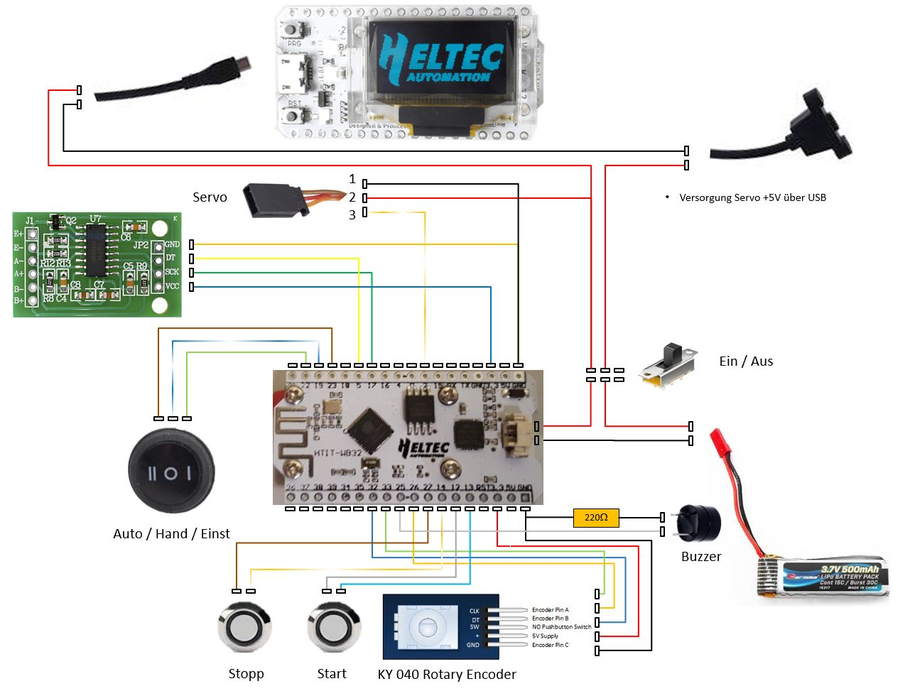
Wiring Diagram
The wiring diagram shows the wiring of the individual components, dedicatedly painted with Powerpoint ;-)
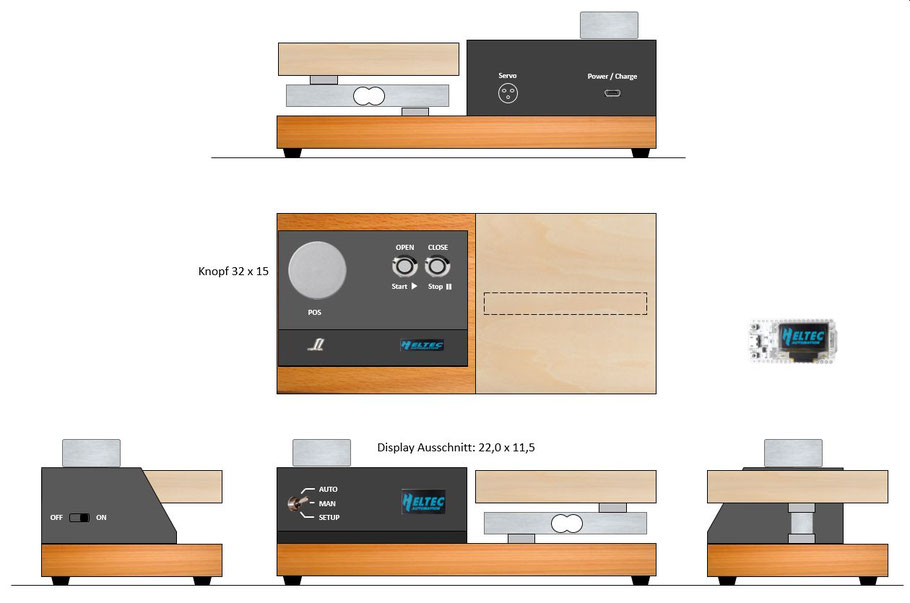
Mechanics and Design
Base Plate and Weighing Platform
Base plate and weighing platform are made of 18mm thick screen printing plate. The weighing beam is bordered with a surrounding pine strip (not shown).
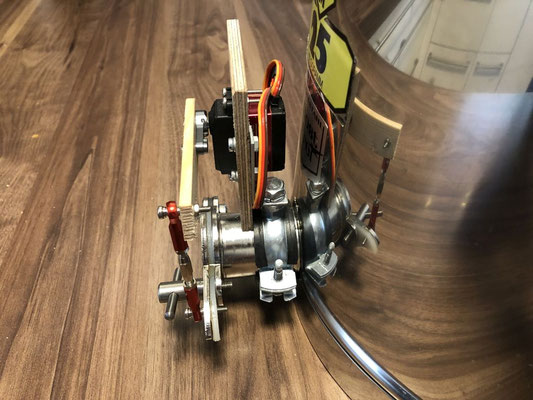
Servo Mount and Squeeze Valve Linkage
The attachment of the servo support and the linkage of the squeeze valve at the outlet nozzle of the filling bucket was carried out with a screw clamp and a metal bracket, which was fixed with a M8 screw. The servo mount and servo arm extension were made of one piece of plywood.
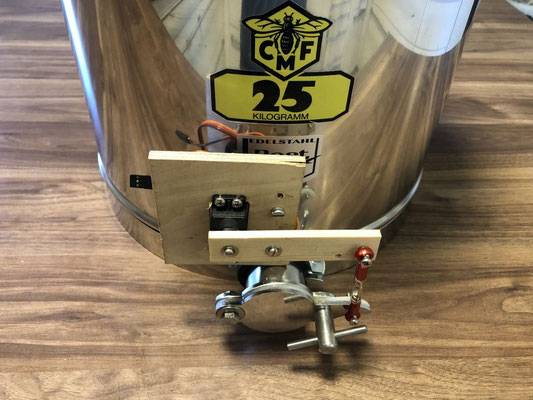
Admittedly, this assembly still makes a rather provisional impression - there are now much more appealing designs in the community. To revise this is a task for a version 2.0, which could be implemented after the honey-filling season.
Source Code and Modifications
The ESP32 is connected to the PC via USB for programming. Programming is done in the programming language C within the development environment "Arduino IDE".
The biggest challenge is certainly the implementation of a suitable control algorithm that corrects the changes in flow velocity depending on the viscosity of the honey (depending on the type of honey, temperature, crystallization) and the pressure (depending on the fill level of the bucket).
At present a quite pragmatic approach is implemented, which in principle works as a human would do. Even more accurate results could probably be achieved with a PID controller. However, an adaptation ("auto-correction" function) has been implemented which detects the deviation from the target weight for each filled glass and "learns" this difference as a correction value for the next filling cycle. With this functionality, an accuracy sufficient in practice is achieved.
The garden beekeeper has implemented some minor "cosmetic" improvements and corrected minor errors. Andreas Holzhammer, one of the programmers, has further developed these modifications and incorporated them into the "official" program code.
More ideas to extend the functionality:
- Extend acoustic feedback via the beeper, silent mode adjustable via menu
- Counter: Store the number of jars filled and the quantity of honey, today and in total, in the EEPROM
The garden beekeeper's son, who studies computer science at an elite university, laughs at the program code, by the way, but has to admit that it works and thinks that the whole thing is good enough for a mechanical engineer J
Operation
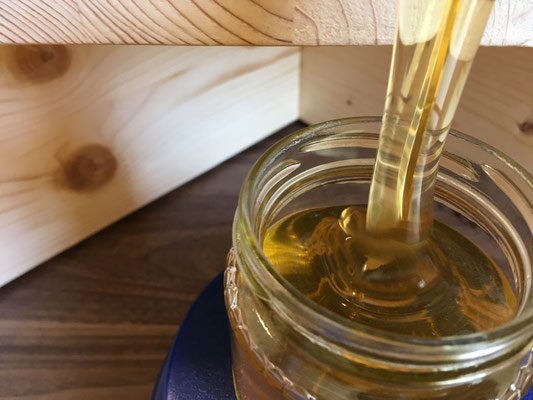
The filling of the jars works perfectly. The working speed with the support of the bucket robot is considerably higher than before and the hands no longer become sticky, as the squeezing tap no longer needs to be touched. The filling quantity is maintained with an accuracy of 1g.

Annotations
The contact pressure of the bearing screw on the squeeze tap had to be adjusted so that the tap can be moved easily. This is a balancing act, because if the screw is too loose, the valve no longer seals 100%.
It was also important not to use the 5V pin of the microcontroller to supply the servo, but to connect it directly to the USB power supply line to cover the rather high current demand.
There are no comments yet.